鐘楼堂の改修工事③@新潟市東区
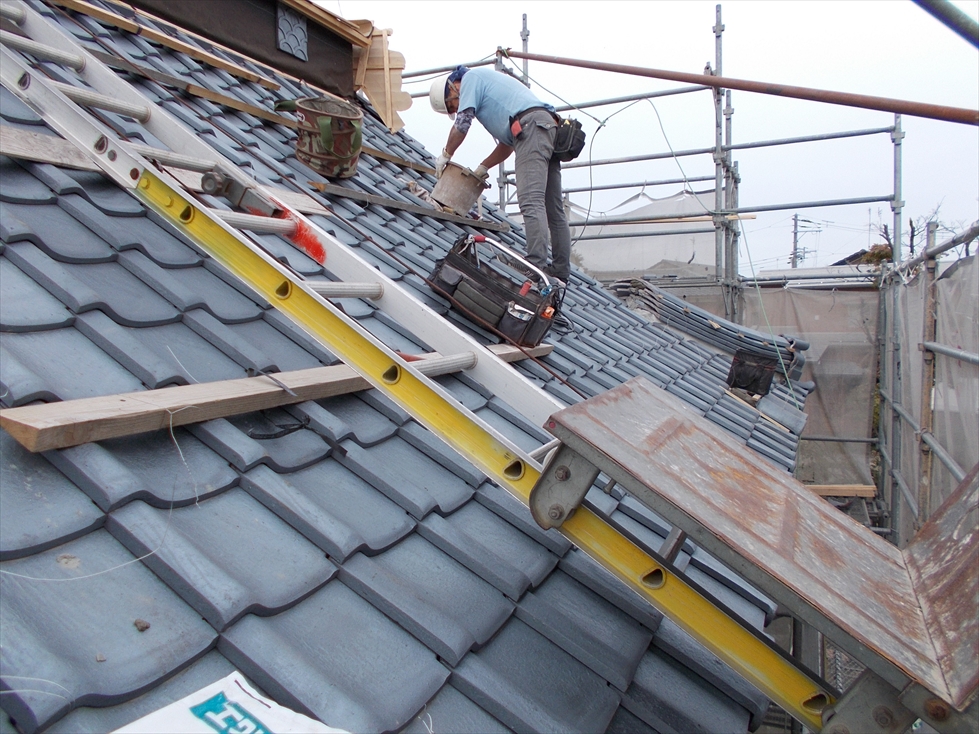
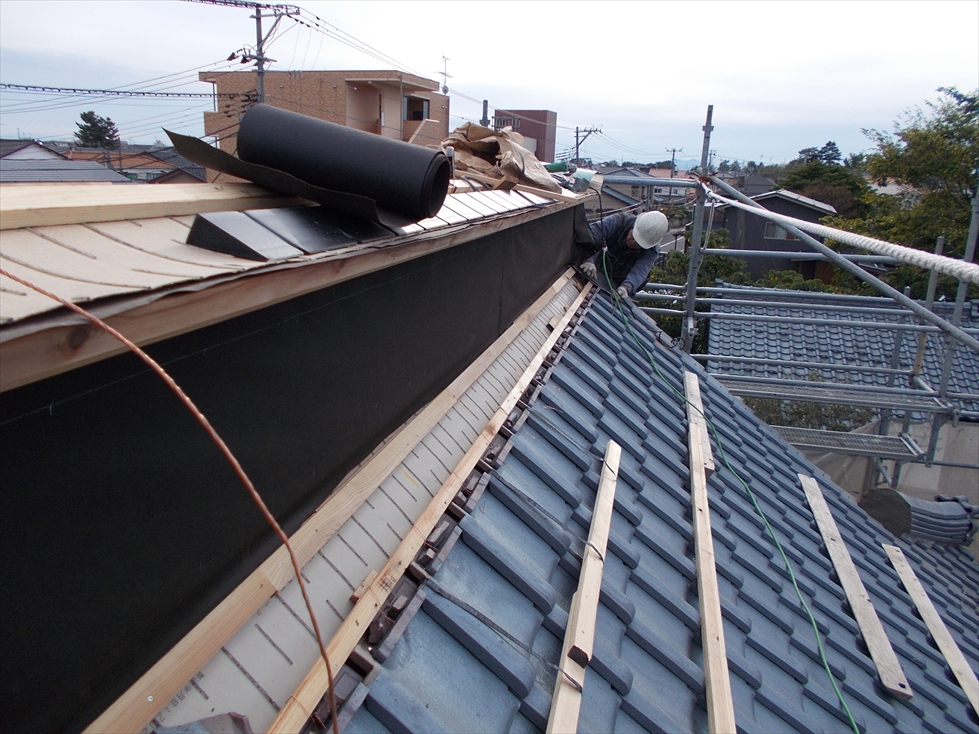
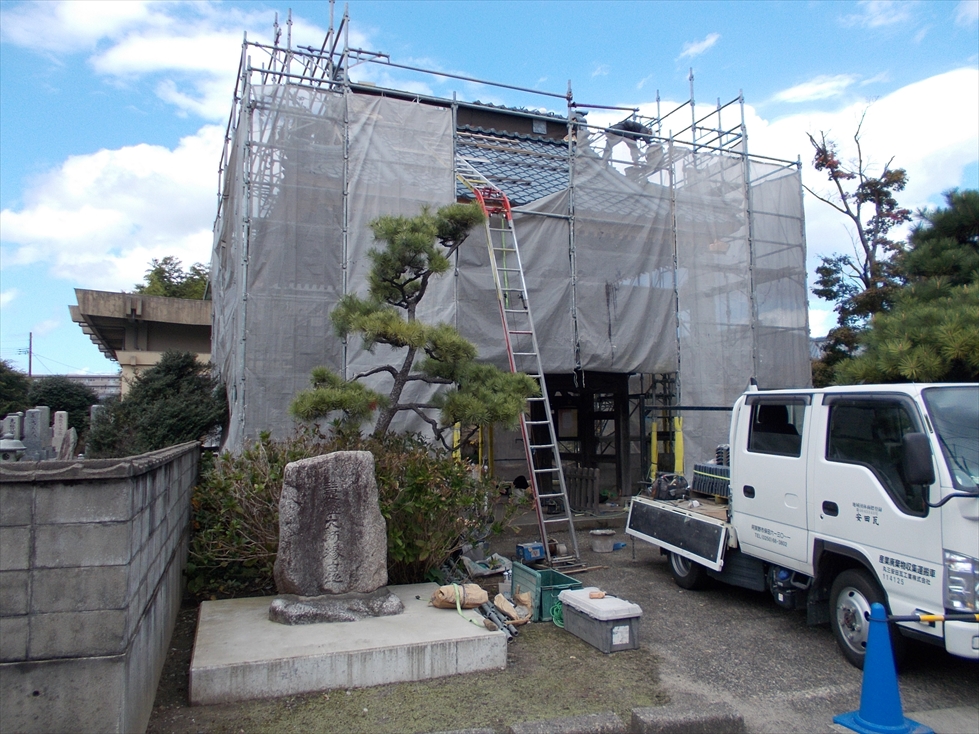
先回までで大工さんによる建物躯体の改修が終わり、工程後半の瓦工事へと進んでいます。
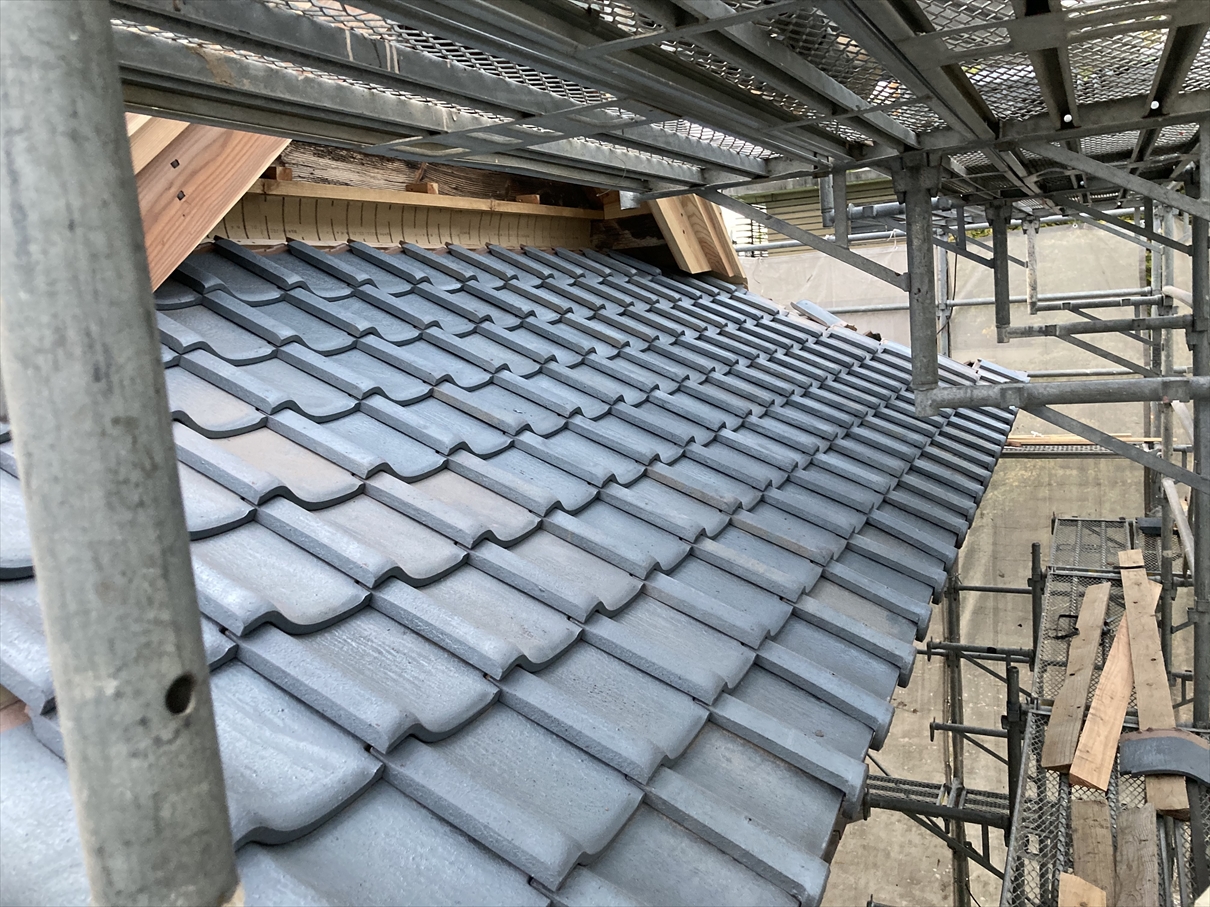
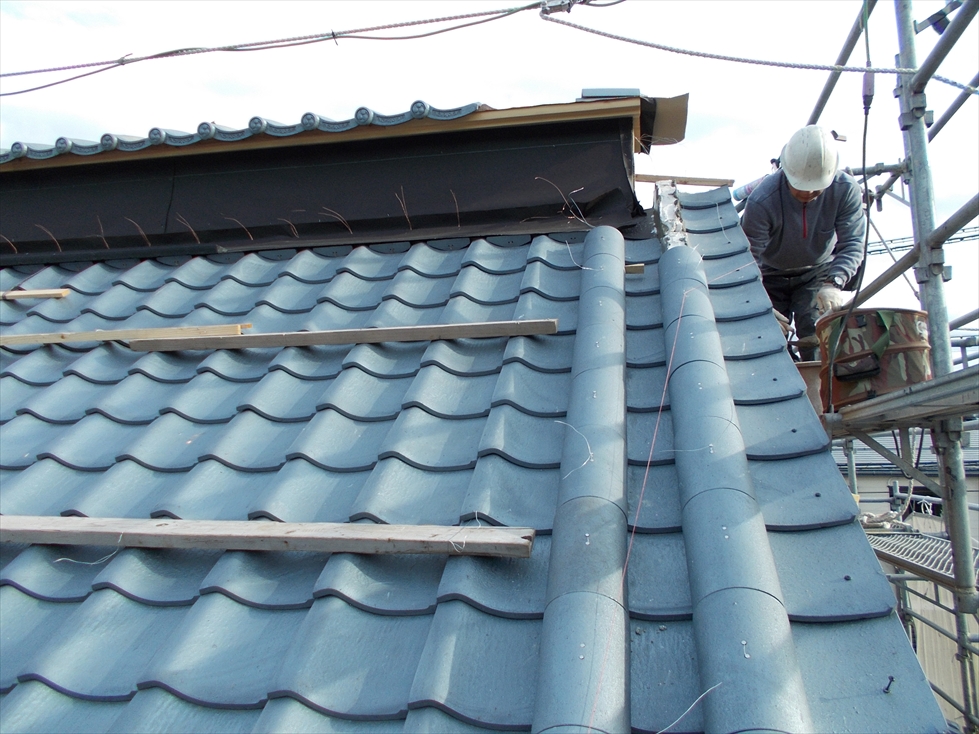
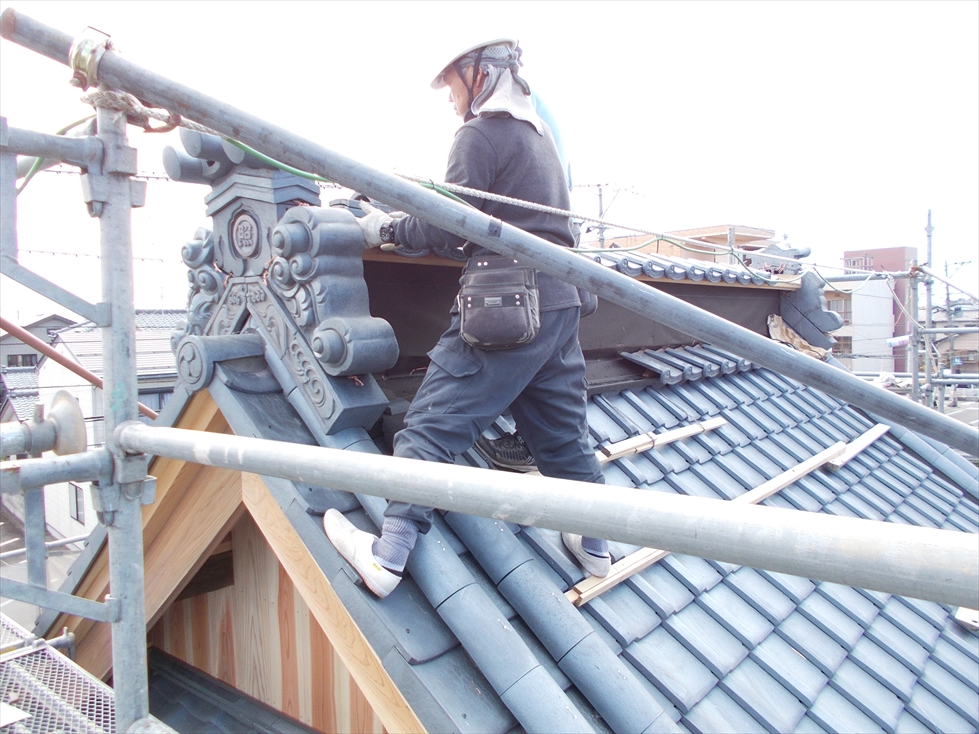
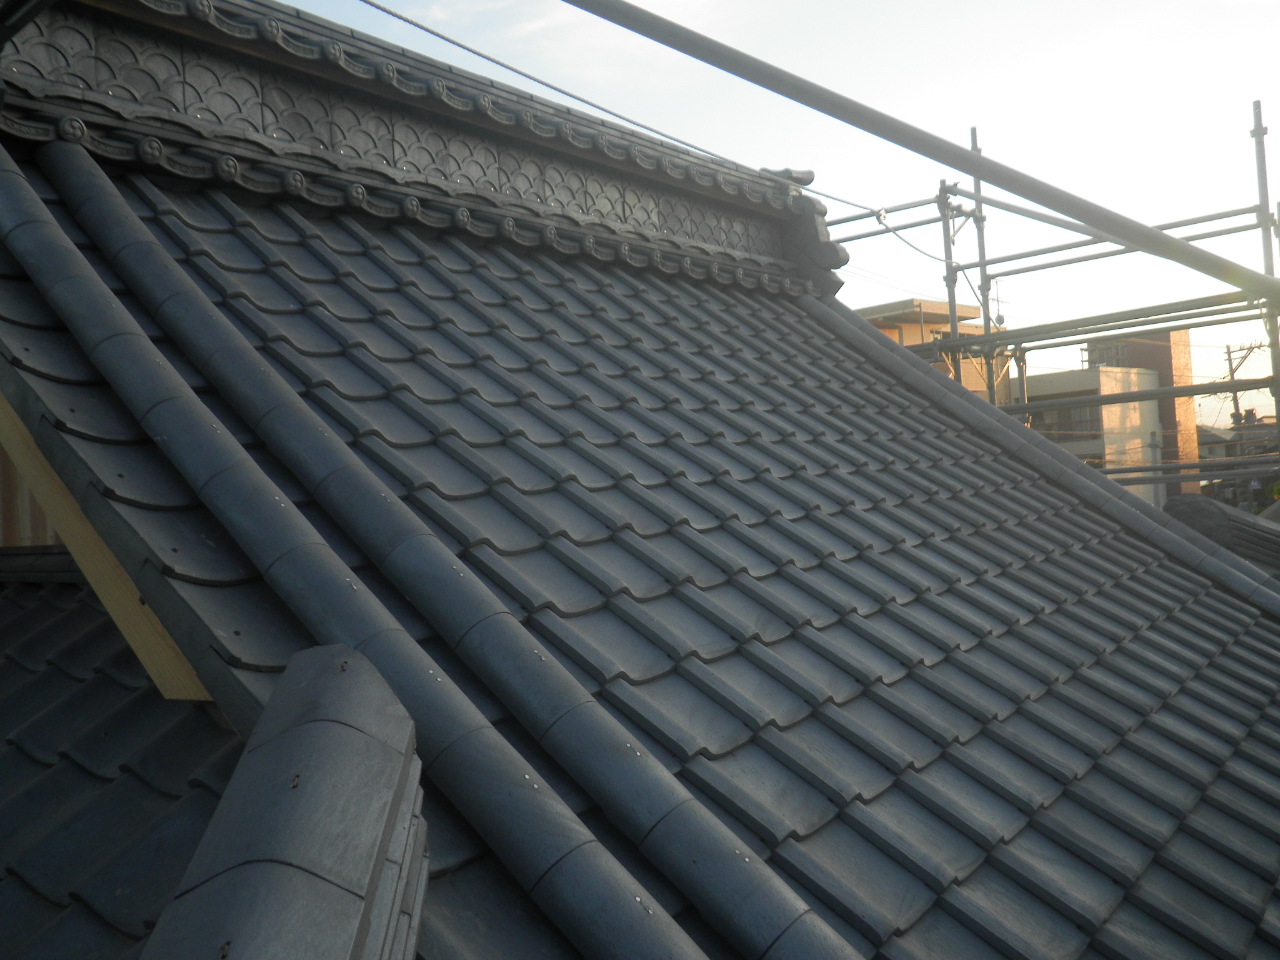
平面部の作業がほぼ終わり、隅棟の作業へ移ります。
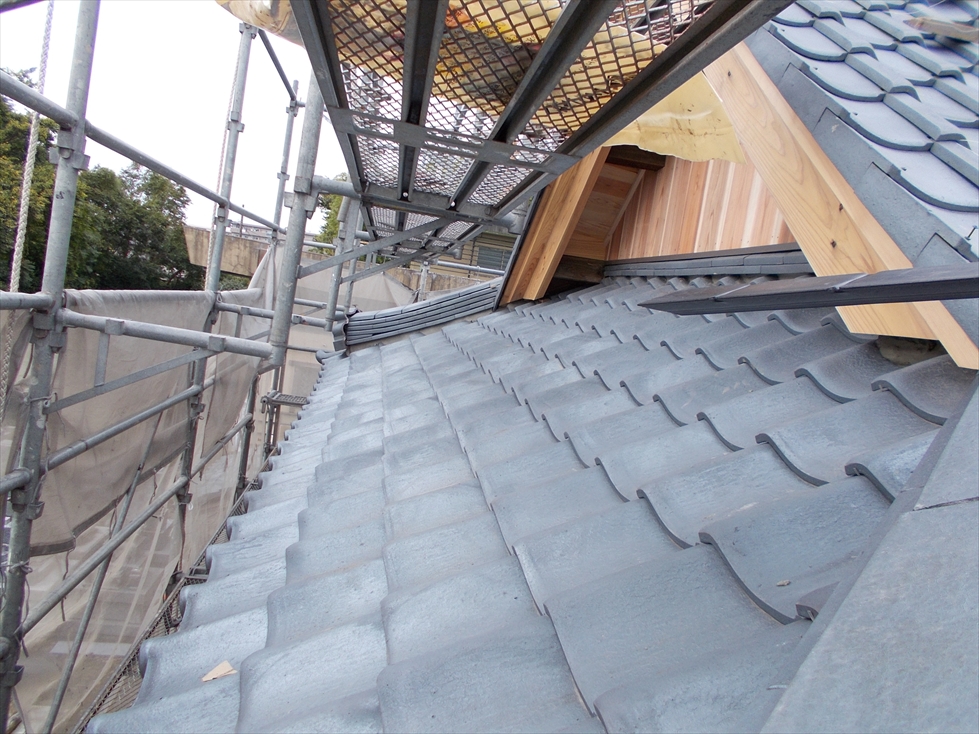
今回の瓦工事にあたり、箱棟(はこむね:建物の一番高い所にある棟部分の名称)の高さをどの程度にするかということで悩みました。
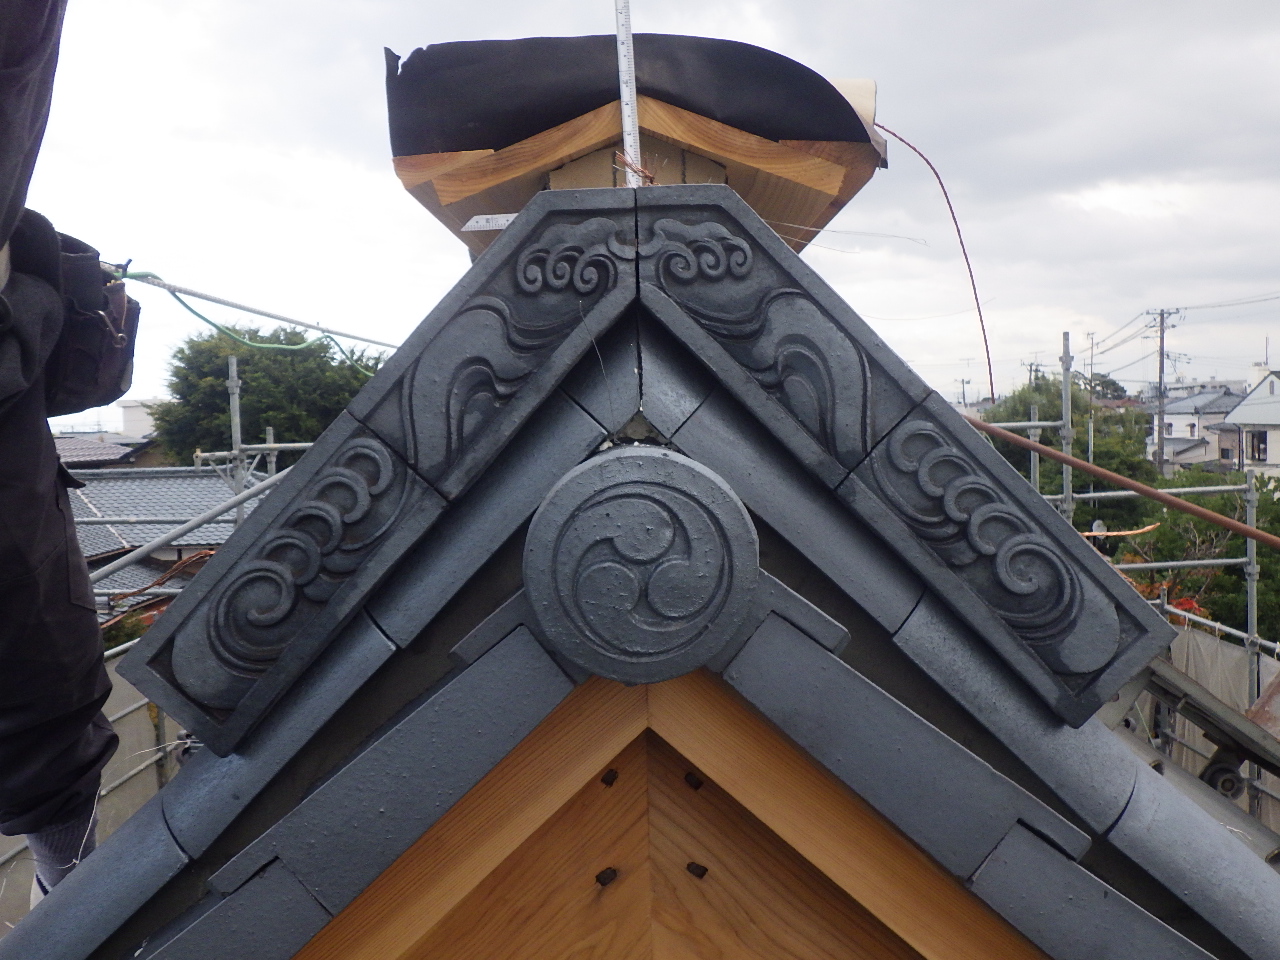
というのも、元の鬼瓦が建物に比して小さく いささか迫力に欠けており、今回の改修工事にあって意匠性をどう高めるか?ということに心を砕きました。
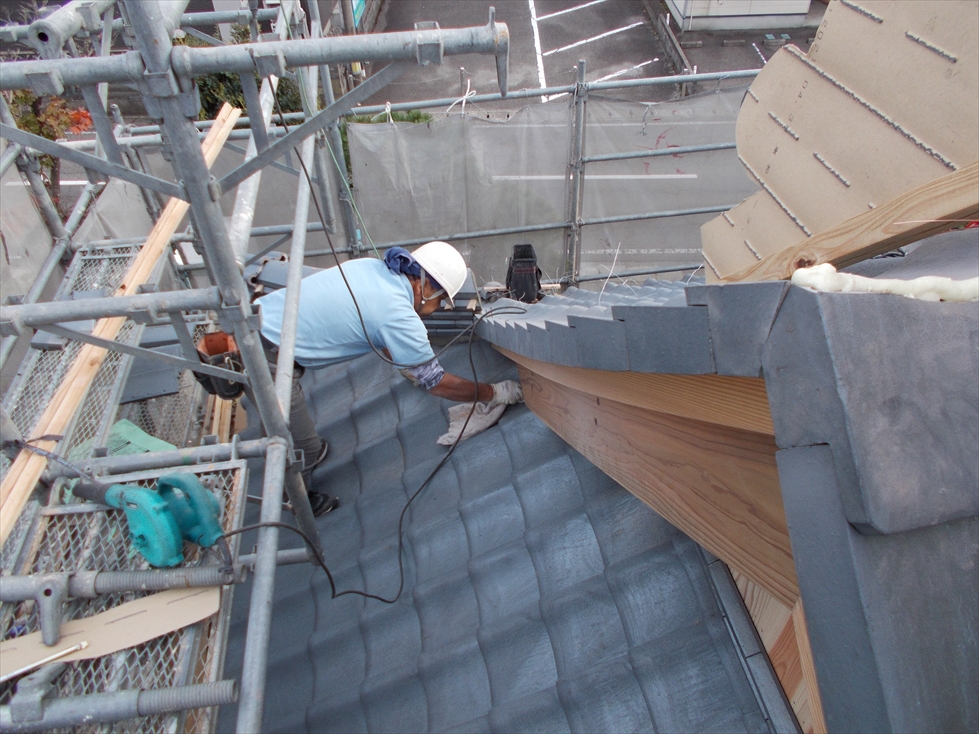
寺紋が取り付けられた鬼瓦が設置されました。
引き続き箱棟の作業に進みます。
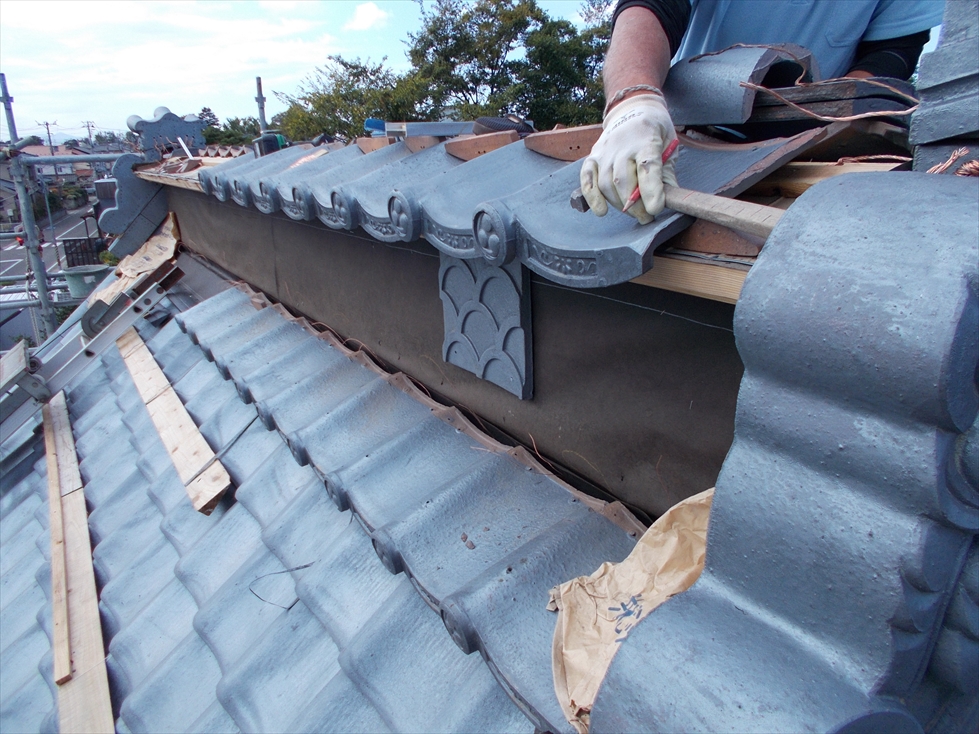
元の建物には無かった降り丸という瓦も施工しました。

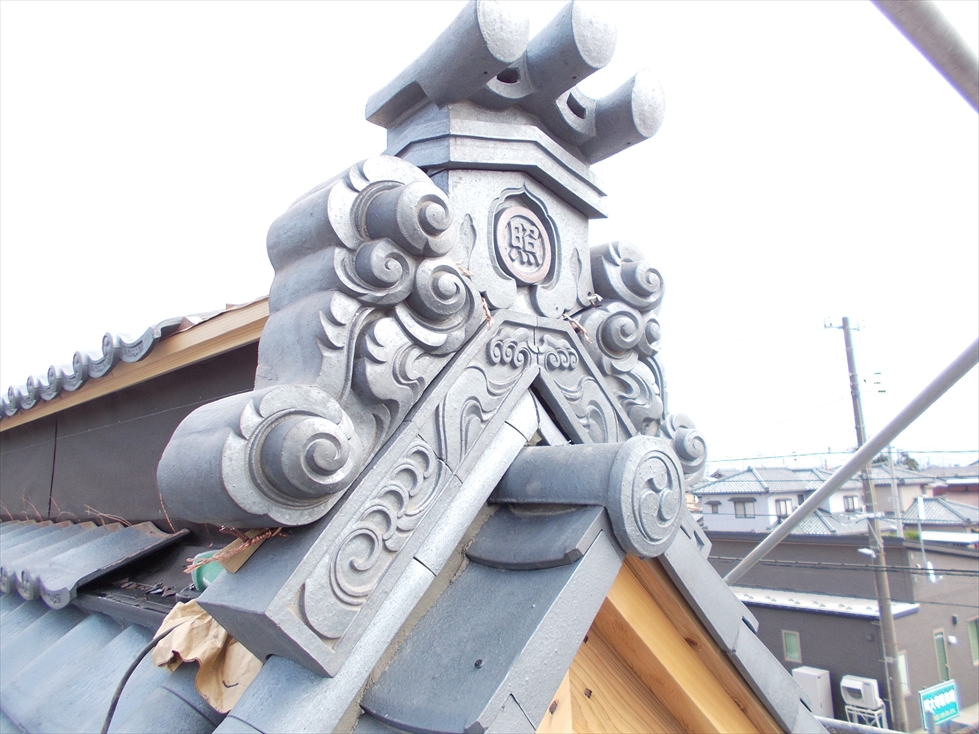
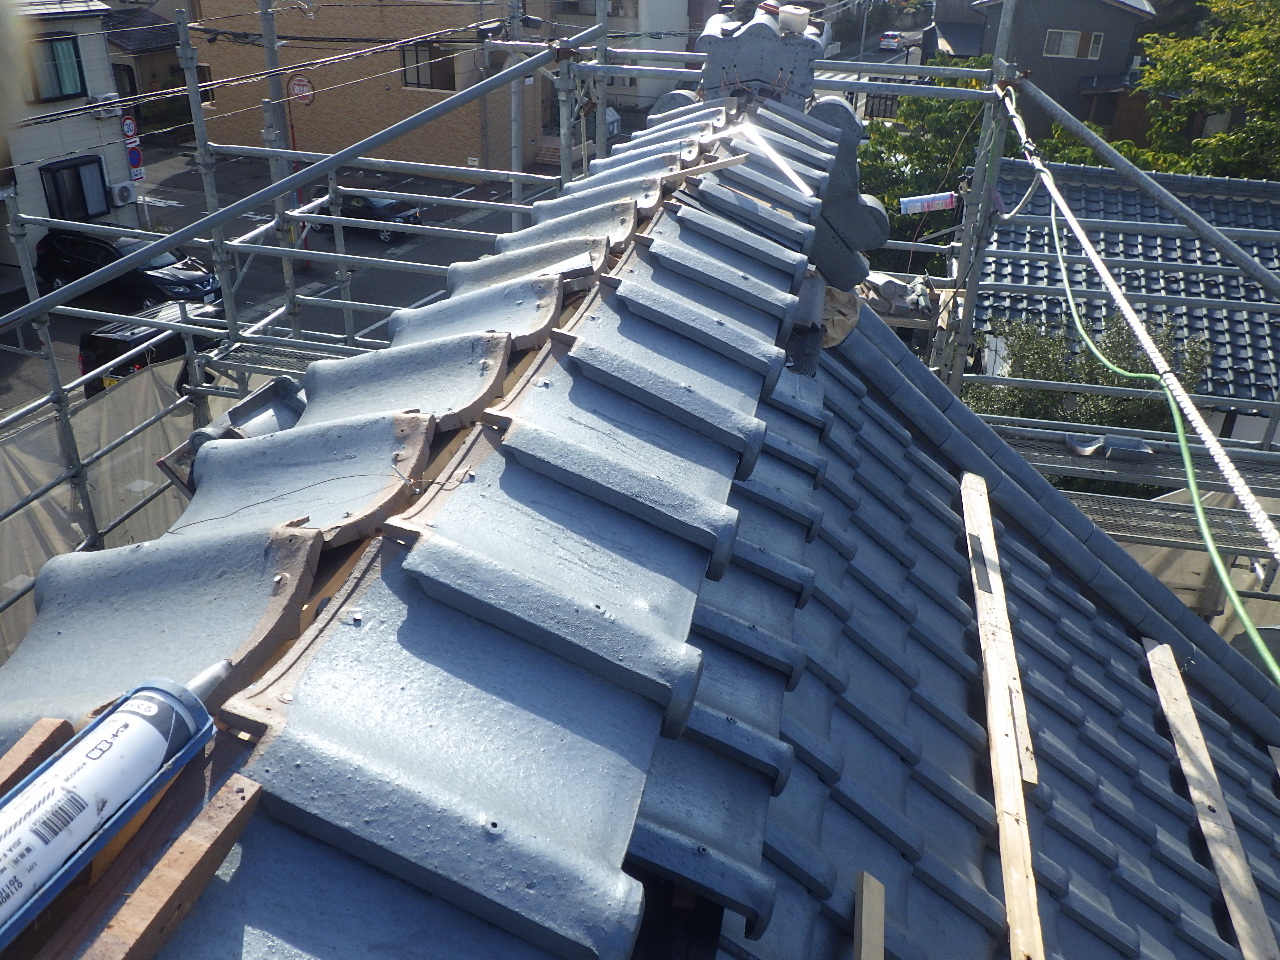
バランスの良い高さに仕上がったのではないかなと思います。
これで全ての作業工程が完了しました。
その佇まいで次の100年、お寺に訪れるお客様を迎えてくれると思います。


平面部の作業がほぼ終わり、隅棟の作業へ移ります。
今回の瓦工事にあたり、箱棟(はこむね:建物の一番高い所にある棟部分の名称)の高さをどの程度にするかということで悩みました。
というのも、元の鬼瓦が建物に比して小さく いささか迫力に欠けており、今回の改修工事にあって意匠性をどう高めるか?ということに心を砕きました。
寺紋が取り付けられた鬼瓦が設置されました。
引き続き箱棟の作業に進みます。
元の建物には無かった降り丸という瓦も施工しました。
バランスの良い高さに仕上がったのではないかなと思います。
これで全ての作業工程が完了しました。
その佇まいで次の100年、お寺に訪れるお客様を迎えてくれると思います。
SHARE
シェアする
[addtoany] シェアする